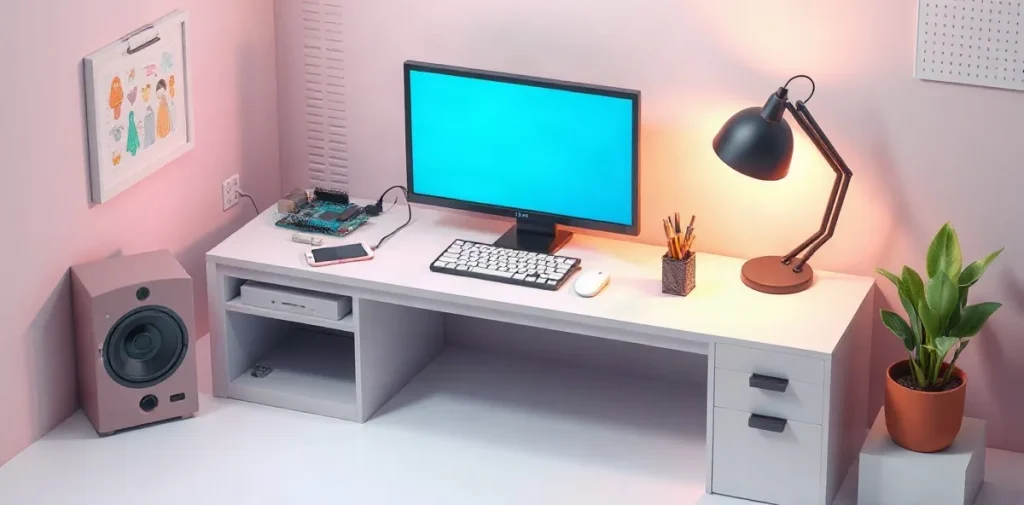
To build a project with Arduino, choose a task, prepare the board and the components you need, assemble the circuit, and upload the program using the Arduino IDE. Then test the result and fix any issues step by step: this makes it easier to understand how the code, sensors, and other devices work together.
You can start with a simple project—for example, turning on an LED or reading sensor values. Let’s look at how to choose components, connect them to the board, and write a program to turn an idea into a working prototype.
| Project | What should happen | What to check in the kit |
|---|---|---|
| Sound triggered by head movement | Tilt triggers sound | Accelerometer, headphones, or audio output |
| Smart home | Control a home function | Modules and components for the chosen task |
| Snake or Pong | The game responds to controls | Suitable controls and display components |
| Simon Says or Tetris | The game follows a set of rules | Board, wires, and modules needed for the game project |
- 2/5 difficulty rating for the head-movement sound generation project in the roundup “10 Interesting Projects You Can Build with Arduino”
- 3/5 time estimate for the same project in the roundup “10 Interesting Projects You Can Build with Arduino”
How do you turn an idea into an Arduino project?
Turn an idea into an Arduino project by first describing one action the device should perform, then defining a result you can test. For example: a sensor detects a head tilt, and the device plays a sound. This makes it clearer what input and response you need to implement.
Generating sound in response to head movement is one specific example in the roundup “10 Interesting Projects You Can Build with Arduino”: it is rated 2/5 for difficulty and 3/5 for time. These ratings give you a sense of the project’s scope, but you should define its goal separately: “tilting the sensor turns on the sound,” rather than “the device should be smart.”
Choose a direction and a completion criterion
Other projects to consider include a smart home or an Arduino game. Game roundups feature Snake, Pong, Simon Says, Tetris, and pinball. In each case, it’s helpful to frame the idea as an observable system response to a user action.
- Sound triggered by head movement: the result is that tilting the sensor starts the sound.
- Smart home: choose a specific action in advance, such as turning on a device in response to a sensor signal.
- Snake, Pong, Simon Says, Tetris, or pinball: decide which player input should change what happens on the screen or playing field.
Once you’ve defined the result, choose components to match: the Arduino board, sensor, and output device should all support the response you want. For a first project, you could use a ready-made kit with a board, wires, sensors, and instructions.
What should you choose first: a board, a sensor, or a ready-made kit?
For your first Arduino project, choose a preassembled kit: it may include a board, wires, sensors, and detailed instructions. This lets you skip choosing components individually and get straight to assembling the circuit according to the diagram.
- A project that responds to movement. You’ll need a sensor that detects position or motion. The project that triggers sound when you tilt your head uses an accelerometer.
- An audio device. A motion sensor alone isn’t enough: decide in advance where the sound will come out. In the project described here, it plays through headphones.
- A separate board or a kit. It makes sense to look for a board and components based on the parts list for your specific idea; beginners will find it easier to use a kit with instructions, wires, and sensors.
Where to look for components
Arduino kits and components are available from Chipdip, Amperka, Radiolyubitel, and AliExpress. The seller’s name alone doesn’t guarantee that a particular kit includes the board, accelerometer, or other parts you need.
Before buying, check the kit contents against your project: for a device that responds to tilting, make sure it includes an accelerometer; for an audio project, check how sound is played, such as whether headphones can be connected. Check the availability and contents of specific kits separately.
How do you assemble and test your first prototype?
Assemble it without adding unnecessary variables
Build your first Arduino prototype in stages: check the parts against the instructions, connect and test the sensor, then add an audio output or indicator. This sequence helps you identify which part is responsible for the result if the device doesn’t respond.
Before connecting anything, lay out the components and make sure the board, connecting wires, and sensor are suitable for your chosen task. If you’re using a ready-made Arduino kit, look for the instructions and all the parts listed in them. Chipdip, Amperka, Radiolyubitel, and AliExpress are among the suppliers mentioned for these kits.
Test the sensor response
First, test the sensor on its own: change its position or interact with it as intended, and see whether the readings change. Then connect an output device and check that it responds to the specified event. For a first prototype, it’s convenient to use one sensor and one output—for example, an indicator.
For a head-tilt project, test the “movement — sound” sequence: when the head position changes, sound should come through the audio output or headphones. This tests the principle behind a device with an accelerometer and headphones that plays sound in response to tilting. If there’s no response, split the test into steps: check the sensor readings again first, then check the output connection and whether it activates.
Which project should you choose: sound, a smart home, or a game?
Choose an Arduino project based on the components you have and the result you want: sound triggered by movement requires a sensor and audio output, a smart home requires suitable automation modules, and a game requires controls and a display. For the first option, you could try generating sound when you tilt your head; for the second, switching low-voltage circuits; and for the third, Snake, Pong, Simon Says, or Tetris.
- Sound: a sensor detects movement, and an audio output plays a sound in response. This project links a specific action to audio and is a good choice if you want to experiment with how a system responds to tilting.
- Smart home: Arduino can be used to control home devices. The source materials specifically mention switching low-voltage circuits; choose modules for the automation task you want to implement.
- Game: Snake, Pong, Simon Says, and Tetris are included in a roundup of Arduino game projects. Before choosing one, check whether you have suitable controls and display components: without them, you won’t be able to implement the game.
Start by taking stock of your components, not by choosing a project name: a sensor and audio output point toward an audio project, modules for controlling home devices point toward a smart home, and buttons or other input devices paired with a display point toward a game. If you don’t have the components yet, a ready-made kit with an Arduino board, wires, and sensors can make it easier to get started. The materials list Chipdip, Amperka, Radiolyubitel, and AliExpress as places to look for such kits.
Why might an Arduino project not work the first time?
An Arduino project may not work the first time if the kit lacks a component required for the function, several parts are connected at once, or the instructions don’t match your kit. For example, an idea for playing sound when you tilt your head requires a suitable position sensor: the fact that a kit includes sensors doesn’t mean it includes the one you need.
Test the project in stages: first make sure the Arduino board works, then test the sensor separately, and only after that connect the output device—for example, a device that plays sound. If you assemble the whole circuit at once, it will be harder to pinpoint whether the problem is with the board, the connections, or a specific module. Kit names don’t guarantee identical contents, either: options from Chipdip, Amperka, Radiolyubitel, and sellers on AliExpress may differ, so check the contents of your specific kit against its instructions.
Check the control requirements
Whether you need to control a project from a computer depends on the specific instructions, not on the Arduino platform itself. One smart-home version mentions a computer running Windows 10 and a UI app for control; you don’t need to apply those requirements to other projects. Before assembling anything, check which components the instructions list, which sensor is responsible for the response you want, and whether a computer needs to be involved in control at all.
What counts as a finished home project?
A finished Arduino home project performs one predefined function, reliably repeats the expected response, and is assembled from components connected according to the instructions. For example, the device plays sound when you tilt your head or controls a selected low-voltage circuit—instead of trying to do several things at once.
You can check the result by testing whether it is repeatable: the same sensor movement should trigger the intended response every time. For a sound project, this means that tilting reliably triggers the sound; for a game build such as Snake or Pong, it means the controls produce the intended action. If the prototype behaves unpredictably, its function hasn’t yet been implemented reliably.
How to check your build
- Function: define one specific result—for example, sound when tilted, as in the project that tracks head position.
- Components: identify the Arduino board, sensor, connecting wires, and output device; connect each one according to the instructions, not by guesswork.
- Test: repeat the same action with the sensor several times and make sure the result matches your intention every time.
- Troubleshooting: if the device doesn’t work, go back to the last working stage and test each part one at a time—for example, the sensor first, then the connections and sound playback.
An Arduino kit with a board, wires, sensors, and instructions makes it easier to check your build against the component list. A finished result is more than a prototype that powers on: it’s a device with a clearly defined function, a repeatable response, and connections you can check step by step.
Frequently asked questions
Can a beginner build an Arduino project?
What’s a simple project to choose for your first try?
Where can I look for an Arduino kit?
What games can you make with Arduino?
Sources
- thecode.media — “10 Interesting Projects You Can Build with Arduino”
- arduino-tex.ru — “Arduino Projects — Arduino Projects”
- forum.amperka.ru — “Switching Low-Voltage Circuits on the Arduino Platform for”
- lider-3d.ru — “The Best Game Projects with Arduino”
- arduino.ru — “Creating a ‘Smart Home’ Project”
